Better Post Processing
writer: russell j.t. dyer; posted: aug 2013; revised: oct 2017
Over the past few years, I’ve used a few programs for post processing photographs. In the past couple of years, I’ve used mostly Adobe Lightroom. I’ve been doing things like cropping and adjusting colors. Since I shoot in RAW or DNG formats, and not JPEG, I’m able to adjust many factors of a photo on my computer. But all of my adjustments were fairly straightforward, using only the slide settings. Lately, I’ve started getting more creative and have been using the Spot Removal tool to eliminate small items and even people from photos. I’ve also been working with the Adjustment Brush to change exposure and other settings for specific items in a photo. This was an absurd idea for me in the past. But now I’m finding it can make a huge difference in the end product.
Using Adobe Lightroom
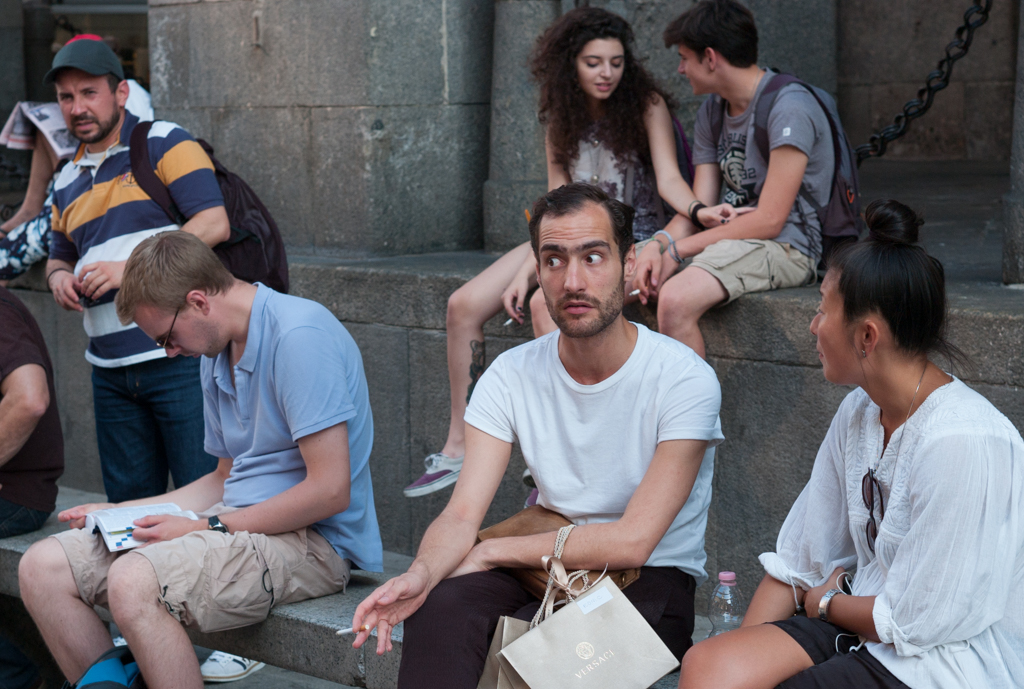
Photograph 1
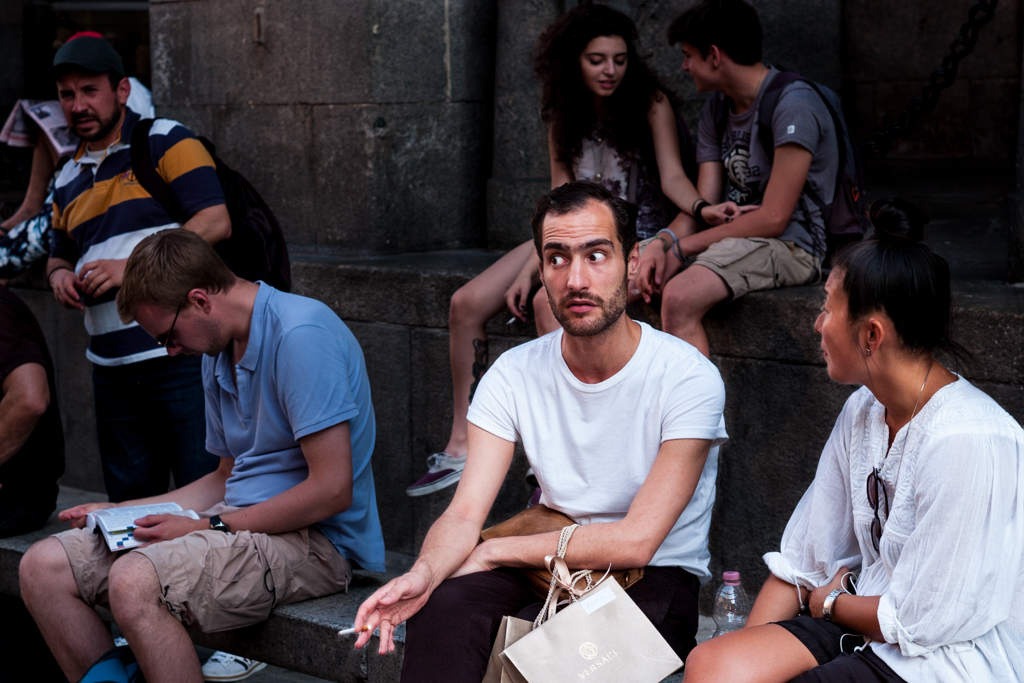
Photograph 2
In this photo you can see an example of my latest attempts to use the Adjustment Brush in Adobe Lightroom. I felt that the man in the white t-shirt was interesting. He had an animated way of speaking that seems to come through in the photo. The original was a little over exposed, so I reduced exposure of the whole photo with Adobe Lightroom. But I wanted to focus the attention on him and his conversation, so I used the Adjustment Brush to reduce the exposure much more on everything and everyone except for him and the woman to whom he was speaking, as well as their bench and personal items.
You may have noticed that I also increased the vibrancy and saturation of colors, and I increased contrast and clarity, but not by much. And I adjusted the white balance for less blue, but reduced the saturation of yellow. I think the result of all of this manipulation is a much better photo.