Different Exposure Modes
writer: russell j.t. dyer; posted: jul 2009; revised: mar 2018
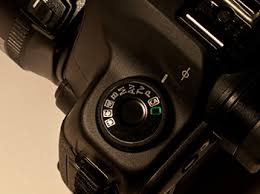
A typical DSLR camera has a few different modes which are generally grouped into two categories: automatic and non-automatic (called creative modes by Canon). Automatic modes are fairly particular to each manufacturer and to each camera model. What each automatic mode does should be explained in the manual you’re given with your camera and generally requires you to do nothing other than point your camera and press the shutter-release button. This article (and this site for the most part) concerns itself with creativity. So, I’ll focus on the non-automatic modes.
A DSLR camera typically has four creative modes: , , (Automatic Exposure), and manual mode. The first two are basically the same as manual mode in that the photographer can adjust all camera settings, except that for these two modes you cannot adjust one of the two primary exposure settings — either aperture or shutter duration. The third mode, Program mode is the same as automatic mode, except that you can adjust aperture and shutter settings if you want, or leave it as the camera sets it. I prefer the fourth mode, manual mode. However, many photographers find these other three modes to be easier to use while still allowing them plenty of room for creative influence.
Aperture Priority
The Aperture Priority mode is usually abbreviated as simple A on Nikon cameras and Av (i.e., Aperture Value) on Canon cameras. In Aperture Priority mode, a photographer is meant to set manually the aperture (i.e., F-stop) while the camera automatically adjusts the shutter speed based on internal light meter readings in response to the selected aperture setting. By contrast, in manual mode, after you set your camera’s aperture, you’ll most likely have to adjust your camera’s shutter duration. To do this, most photographers merely set the shutter to what the camera advises based on its internal, through-the-lens light meter reading. So, if you want to adjust the aperture yourself based on the subjects you’re photographing and if you’re almost always going to set the shutter duration to what the camera recommends, many photographers prefer to automate that one setting. Hence, this is the reason and value of Aperture Priority mode.
You would adjust a camera’s aperture for a few reasons, but you might want to be able to do it quickly if you find yourself taking pictures of people or objects in different groupings. Meaning, if you want to focus on someone in front of you while blurring out the background, you would adjust the aperture. To get more people who are standing at varying distances away from you, you might adjust the aperture the other way. This will all be covered in more detail in another article on this site, though.
Shallow Depth of Field
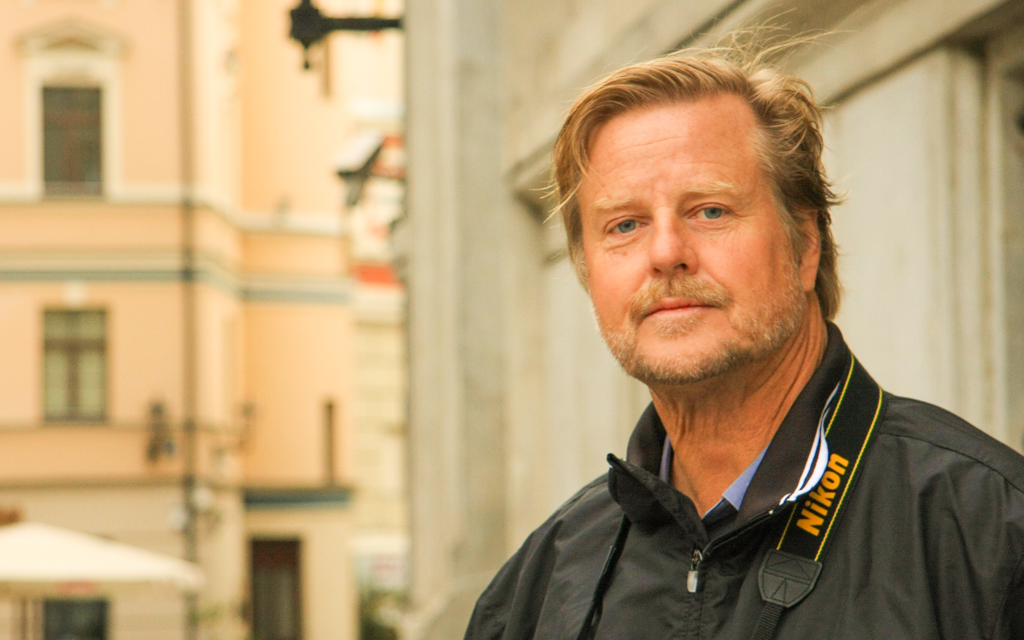
In this photograph, I set the aperture wide (f/5.6) so that the subject is in focus and the background is slightly blurred. This effect gets anyone looking at the photo to focus only on the subject.
Shutter Priority
Shutter Speed Priority is basically the reverse of Aperture Priority mode. With this mode, when the photographer sets the shutter duration, the aperture settings are automatically adjusted for proper light exposure. One of the values of this mode is when you’re photographing a moving subject (e.g., an active child or animal). Depending on how active your subject, will depend on how short of time you’ll want your camera’s shutter to be open. In such situations, you may not have time to conversely adjust the aperture to accommodate your shutter duration setting. Incidentally, this mode is sometimes abbreviated as S on Nikon cameras and Tv (i.e., Time Value) on Canon cameras. Check your camera’s manual to be sure.
In Shutter Speed Priority mode in particular, you will probably need to set your metering method to evaluative or average mode, as opposed to center weighted or spot metering mode. With more precise metering, you run the risk that the camera will lock in on a small part of your subject (e.g., a dark patch on a Dalmatian dog) and throw off the camera’s light meter reading. So using the evaluative or averaging method is probably best in most situations.
Program AE
As mentioned before, in the Program AE mode the aperture and the shutter duration is set automatically. As you point the camera at different subjects or adjust the focal length of your lens (assuming you’re using a zoom lens). The camera calculates the best choice of exposure settings for you. Some photographers like to have their camera on this setting when they have it in their bag, so that they’re ready for a quick and unexpected shot. If they have more time to adjust settings, they will switch to one of the other modes or manual mode. The problem with this setting is that the camera has to guess a bit more than in the other modes, the two exposure priority modes. Some DSLR cameras, however, provide an easy way in which to nudge the camera in a particular direction. Canon calls this feature, Program shift. It’s activated by pushing the shutter release button half way and turning the main setting dial one way or the other.
Manual Mode
For me, manual mode is the best. Setting the exposure isn’t as quick, but I prefer the greater control over exposure settings. I also feel that through the process of struggling with settings, I learn more about exposure and the effects that each factor has on the final product. It’s also easier for me to think outside the meter’s center point — to overexpose or to underexpose for effect, to expand my depth of field or tighten it as I see fit.
The Best Mode
Which camera mode you use will depend on your preferences and on your needs or situation. I have noticed, though, that when new photographers learns one particular mode, they seem to stay with that mode forever. I guess I’m guilty of that by my reluctance and stubbornness regarding using anything other than manual mode. Nevertheless, I would suggest that you try other modes occasionally to see the advantages of each. If you give them a chance, you may still use one mode most of the time, but you might find other modes useful in special situations.

