Understanding Exposure Settings
writer: russell j.t. dyer; posted: feb 2009; revised: apr 2018
There are three primary settings that you might adjust typically when you’re on manual mode: shutter duration (commonly known as shutter speed), aperture opening, and ISO sensitivity. These are collectively known as exposure settings. To make these terms easier to understand, I’ll liken them to an eye and consider some examples of each.
Shutter Duration
Setting the camera’s shutter duration is like opening and closing your eye lids. Imagine you’re lying in bed with your eyes closed. You’ve been asleep all night with the shades drawn and in the dark. In the morning, someone comes into the room and opens the shades and bright sun light bursts into the room. If you were to open your eyes wide and keep them open, the glare of the sun will make it difficult to see. However, you want to know what’s going on in the room. If you were to open your eyes and keep them open too long, though, the glare would overwhelm you. However, if you don’t leave them open long enough, you won’t be able to gather enough information to know who’s in the room and what they’re doing. So you settle on a balance and open your eyes and close them again, leaving them open only briefly. In that brief moment you saw the person who is standing in the room and was above to identify them (it’s that morning person you know), what they’re wearing, as well as their demeanor. How long you left open your eyes was your personal shutter speed, or as I call it since it wasn’t about speed but duration, your shutter duration.
Aperture
There’s a flaw in this simple example related to opening and closing your eye lid that you may have noticed: if you leave your eyes open long enough, they adjust to the glare and then you can keep them open continously. When you expose your eyes to light after having been in the dark, your pupil contracts to minimize the light entering. This is what you do with your camera when you adjust the aperture. Adjusting the aperture makes the opening in the lens that allows light to pass through either narrower or wider, depending on which way you adjust it. Using the comparison to the eye, when the pupil is wider, it can see more in the dark. When it’s narrower, it can see less in the dark but it isn’t overwhelmed by glare when in bright light.
ISO Sensitivity
The third exposure element to adjust when on manual mode is ISO sensitivity. This is like a sensitivity of the retina of the eye. In a digitial camera the image sensor is like its retina. In an analog camera, the retina is the film. It’s fairly reasonable to say that cats have a higher sensitivity to light than humans: they can see much better in the dark than we can. You can’t increase your retinal sensitivity, but you can change the sensitivity of a digital camera’s image sensor by adjusting the ISO. For an analog camera, you would change the film you use to a more sensitive film, one with a different ASA rating. Basically, ISO in digital cameras is the replacement for ASA in film cameras.
Combining
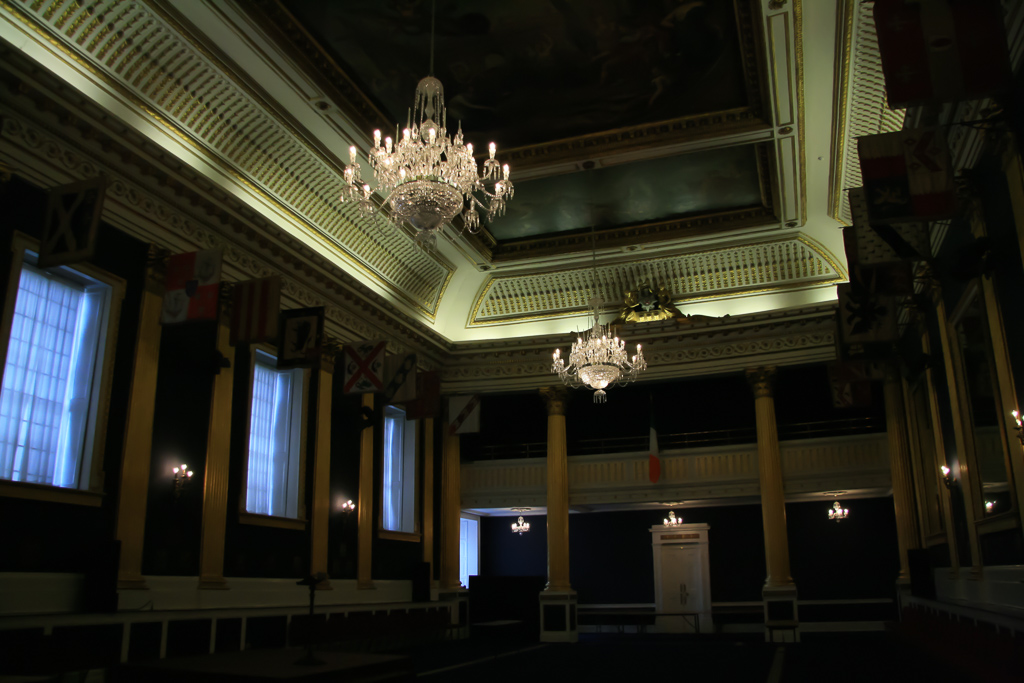
Putting this altogether, let’s consider these scenarios: you’re in an old church and you want to take a picture but aren’t allowed to use a flash. So, you set your camera similar to how you might adjust your eyes in a dark room: widen the pupils (widen the aperture), increase your retinal sensitivity (higher ISO) — if that were possible — and stare at the subject longer (longer shutter duration). Putting numbers to this combination, a normal setting in moderate daylight might be a shutter duration of 1/250 of a second, an aperture of 8 (i.e., 1/8 open), and an ISO of 200. In a dark church, you might set the shutter duration to 1 second, the aperture to 4 (i.e., 1/4 open) or wider, and ISO to 800. The key is to think of your camera like a pet with a big eye that you can change and then just adjust it the way eyes naturally work.

