Without a Built-in Meter
writer: russell j.t. dyer; posted: mar 2010; revised: mar 2018
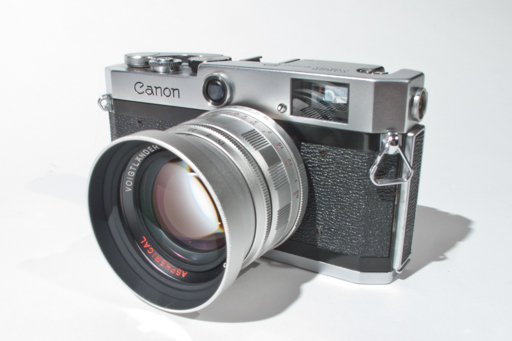
Canon P camera; Voigtlander Nokton 50mm f/1.5 lens
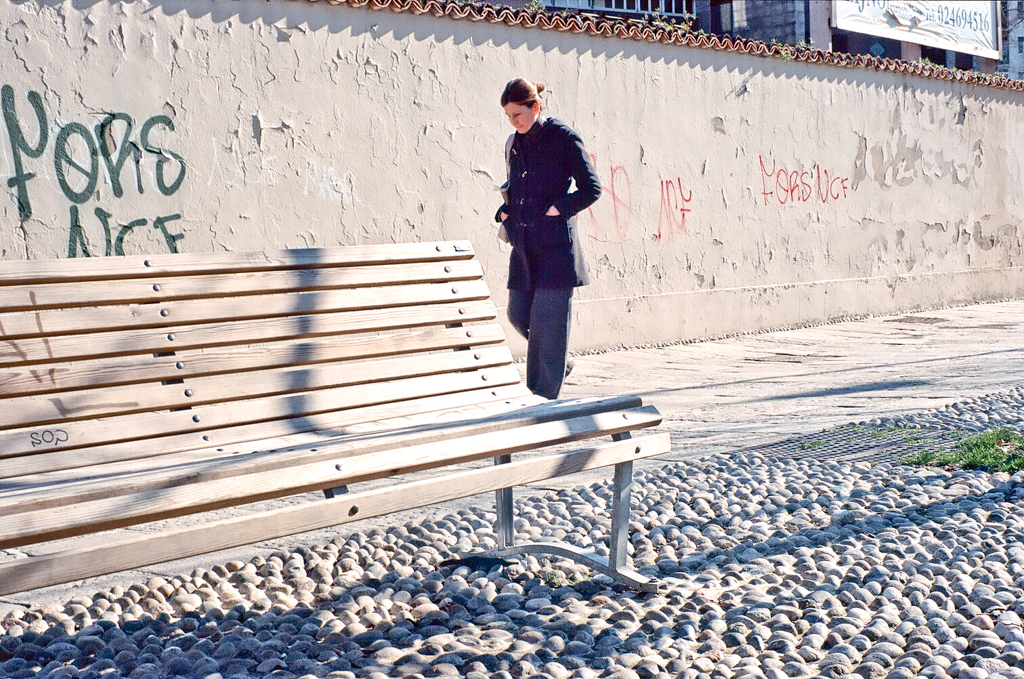
Although I grew up using film cameras, I didn’t become an frequent camera user until about five years ago. At that point, digital cameras were all the rage, so that’s what I used. In the past several months, though, I’ve started using film cameras again. In particar, I’ve been using rangefinder cameras — I’m working my way up to a Leica. My best rangefinder film camera is currently a Canon P or Populaire. I bought it on e-bay from a vendor in Tokyo, Japan. To use with it, I bought a newly manufacturered lens, a Voigtlander Nokton 50mm, f/1.5 from Adorama in New York. As you can see from the photo here, it’s a classical looking camera.
Despite the quality of workmanship of this camera and lens, I have had some difficulties making the transition to film using them. My first problem was with exposure. The Canon P doesn’t have a built-in light meter. It was made in 1961, a little before light meters were a standard component. Canon made a small meter to attach to the top, but they use photo cells which after forty years don’t function all that well. Instead of buying one of those, I used a Sekonic L-358 meter I already owned and bought a spot finder attachment. Unfortunately, I made the mistake of buying one with a one-degree view. I should have bought one with five or ten degrees of viewing. One-degree is too precise and too easy to get a bad reading.
Simple Camera Exposure Guide
This is a simple guide to setting the exposure of a camera outdoors, known as the sunny guide. This is most useful with cameras that don’t have built-in light meters, or when the meters are not functioning.
Aperture Guide
Conditions: |
Sunny |
Hazy |
Cloudy |
Rainy |
Aperture: |
f/16 |
f/11 |
f/8 |
f/5.6 |
Shutter Exposure Guide
Film ASA |
Shutter Duration |
|---|---|
100 |
1/125 |
200 |
1/250 |
400 |
1/500 |
800 |
1/1000 |
As an alternative, I decided to try winging it by using the sunny guide. It’s a general rule for exposure settings outdoors. To determine the shutter duration, divide 1 by the ASA value of the film, or there about. So, ASA 100 film calls for 1/100 of a second. My camera doesn’t have that specific value, so I use something close to it: 1/125. The sunny guide also says to set the aperture based on the lighting conditions in general, or rather, the cloud conditions. Below are two tables showing the parameters and settings.
Using this guide and my meter, I set out last week to take a roll of film under controlled conditions to be able to resolve my exposure problem. To check what works, I created a simple form to write easily the exposure settings after taking each photo. These notes are handy after the film’s developed, to review the photos to decide what works best for the camera. My plan was to take some shots indoors with studio lights using only the light meter. Then I planned on taking some outdoors shots, using the sunny guide and the Sekonic meter — not with the spot finder, but with the incident dome attachment.
The results of my first roll under controlled conditions were good. I used the sunny guide for a few shots outdoors, but decided on a combination of the guide and the meter. Since I used Kodak Ektar 100 (ASA 100), the sunny guide called for setting the shutter to 1/125. So, I kept the shutter there for all of the shots. I used the hand-held meter to determine the aperture based on that shutter speed and the ASA. This combination turned out well. The incident dome attachment worked much better than the spot meter attachment — I wasted a couple of rolls of film on it the previous week. I just had to make sure that I read the light under the same conditions as what I was photographing. For instance, if I was in the shade and my subject was in the sun light, I had to walk out from under the shade to get a correct light reading. I didn’t have to put my meter immediately in front of the subject. Afterall, the sun light is basically the same strength all around, as long as I wasn’t in the shade.
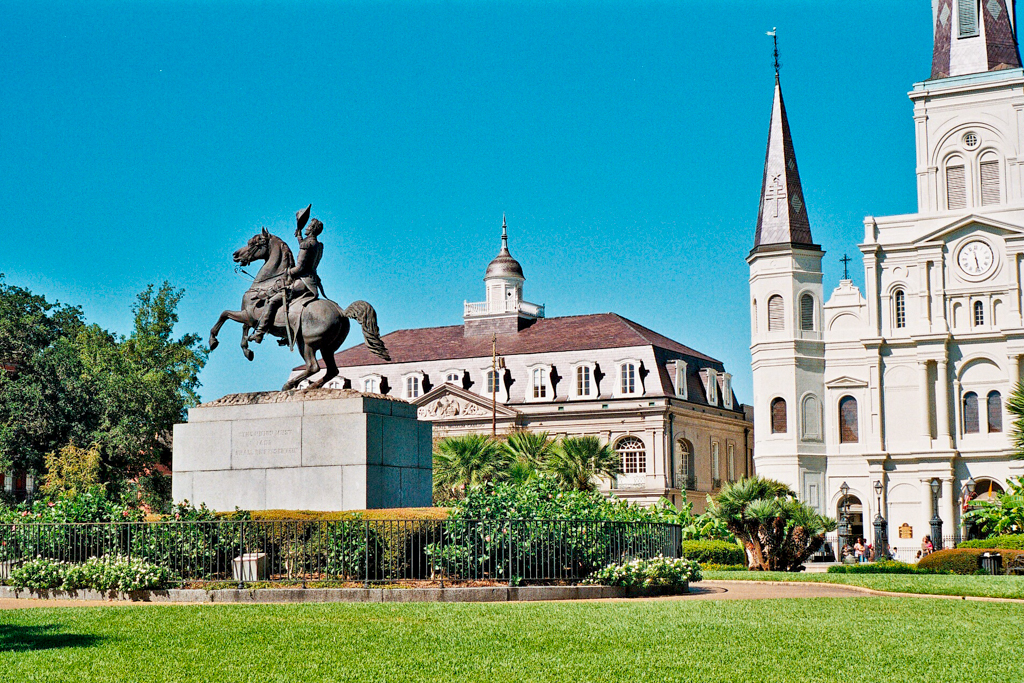
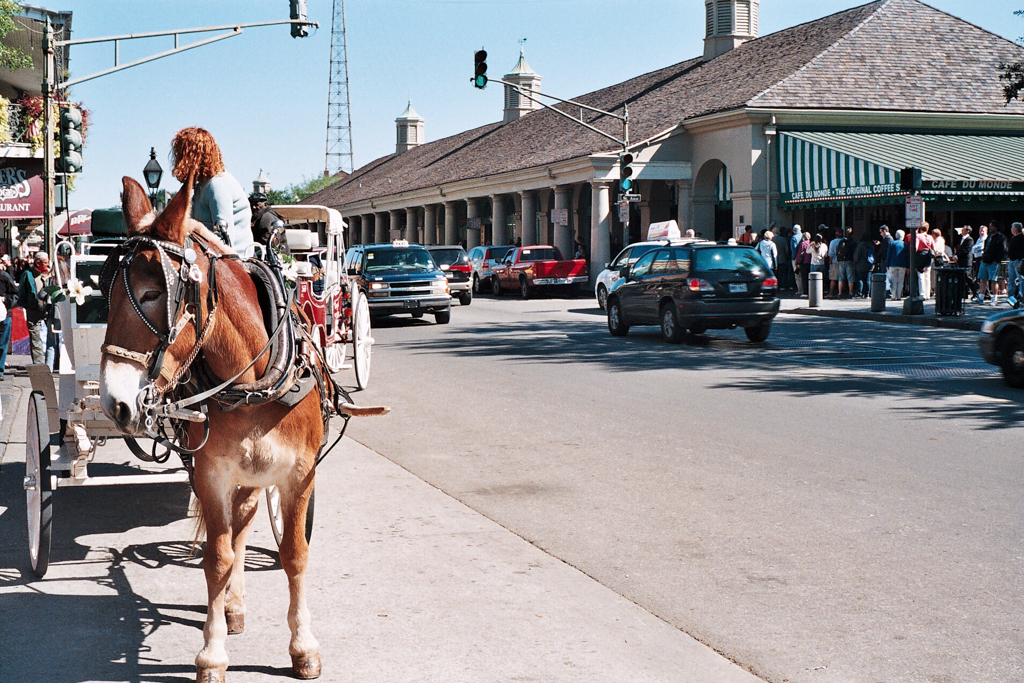
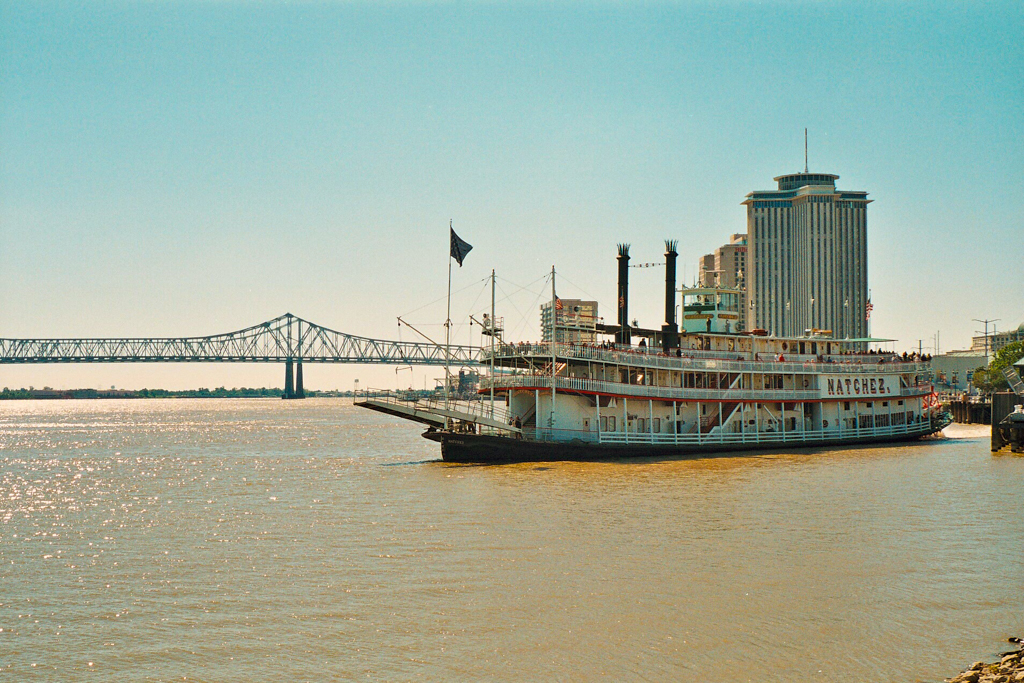
Monochrome Shots taken in New Orleans, U.S.A.
Monochrome Shots taken in Milan, Italy
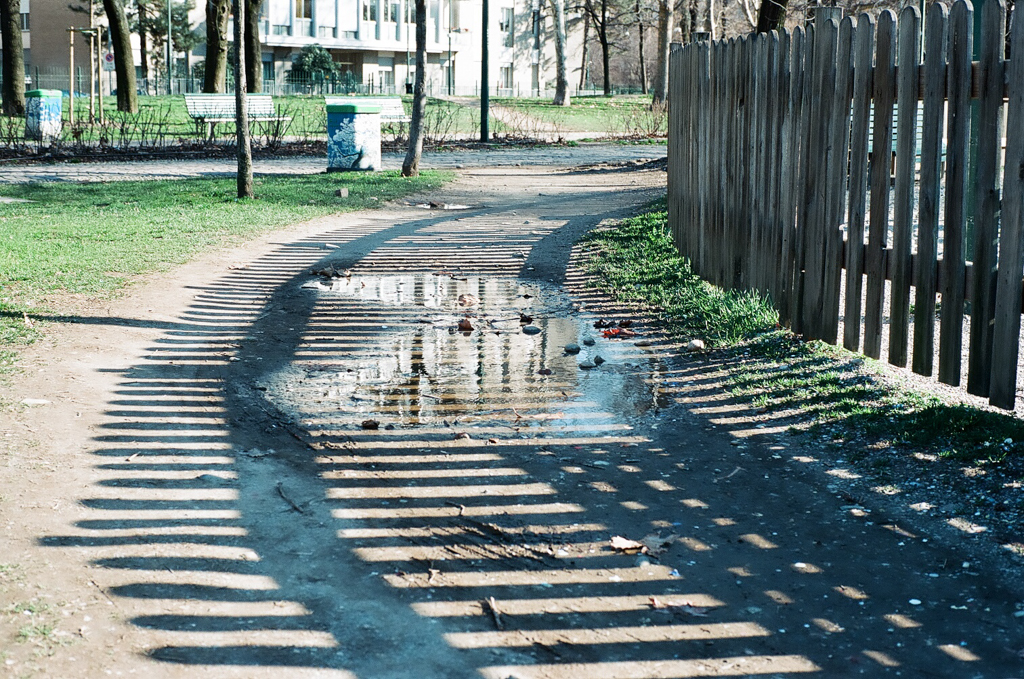
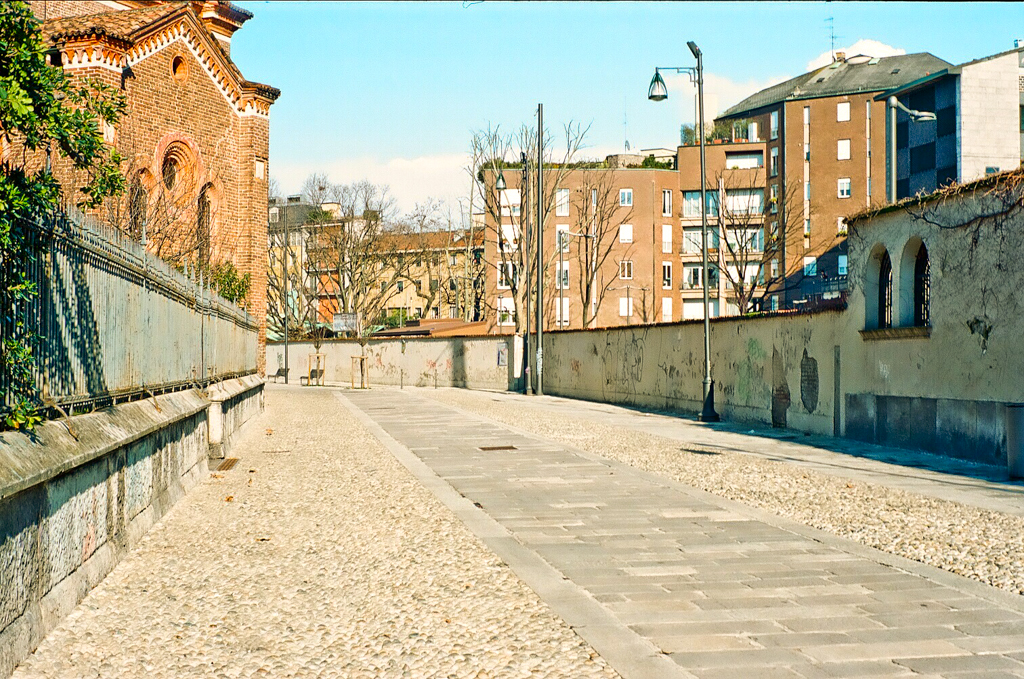
Above are the best shots of each subject that I photographed on this test roll. The photography store that developed my film converted the photos to digital format for me. I’ve tried to scan from prints before and the results were very bad because scanning from prints will reduce the quality. Scaning from a negative, if the scanner used is a good one, will have very little loss of resolution. My developer has a good scanner. With the digitalized versions, I was able to load the images in Adobe Photoshop and adjust white balance and other factors as I can do typically with a digital image. I’ve modified the images above a bit, but not much. As you can see, though, they have naturally a charm to them. There’s something about film derived images that brings out a certain look. Maybe it’s appealing to me because I grew up with film prints, but I think its appeal is separate from age.
Although I only used the sunny guide to determine the shutter setting, I could have used it for aperture setting, too. The sixth picture above, the one of the cobble stone street, was taken without checking the light meter. While reviewing my notes, I compared my meter readings against what the sunny guide dictated and found that the guide recommendations would have been close to what my meter said. I just can’t let go of technology. It’s difficult to do with no meter and no LCD to see immediately the results. Maybe in time I will be comfortable enough with my film camera to roll without meter.
The method of taking photos with a rangefinder film camera is different from using a digital camera. You don’t just shove a memory card into a camera, set the camera on an automated exposure setting, and let the through-the-lens meter do the rest as you point the camera and press the button — not with an old rangefinder camera, you don’t. As I’m becoming familiar with the rangefinder film method, my results are getting better. They may never equal digital cameras, but the feel is different enough that equality comparisons seem irrelevant. It would be like trying to use colored pencils to draw a picture that looks exactly like an oil painting. They’re two different types of art forms.